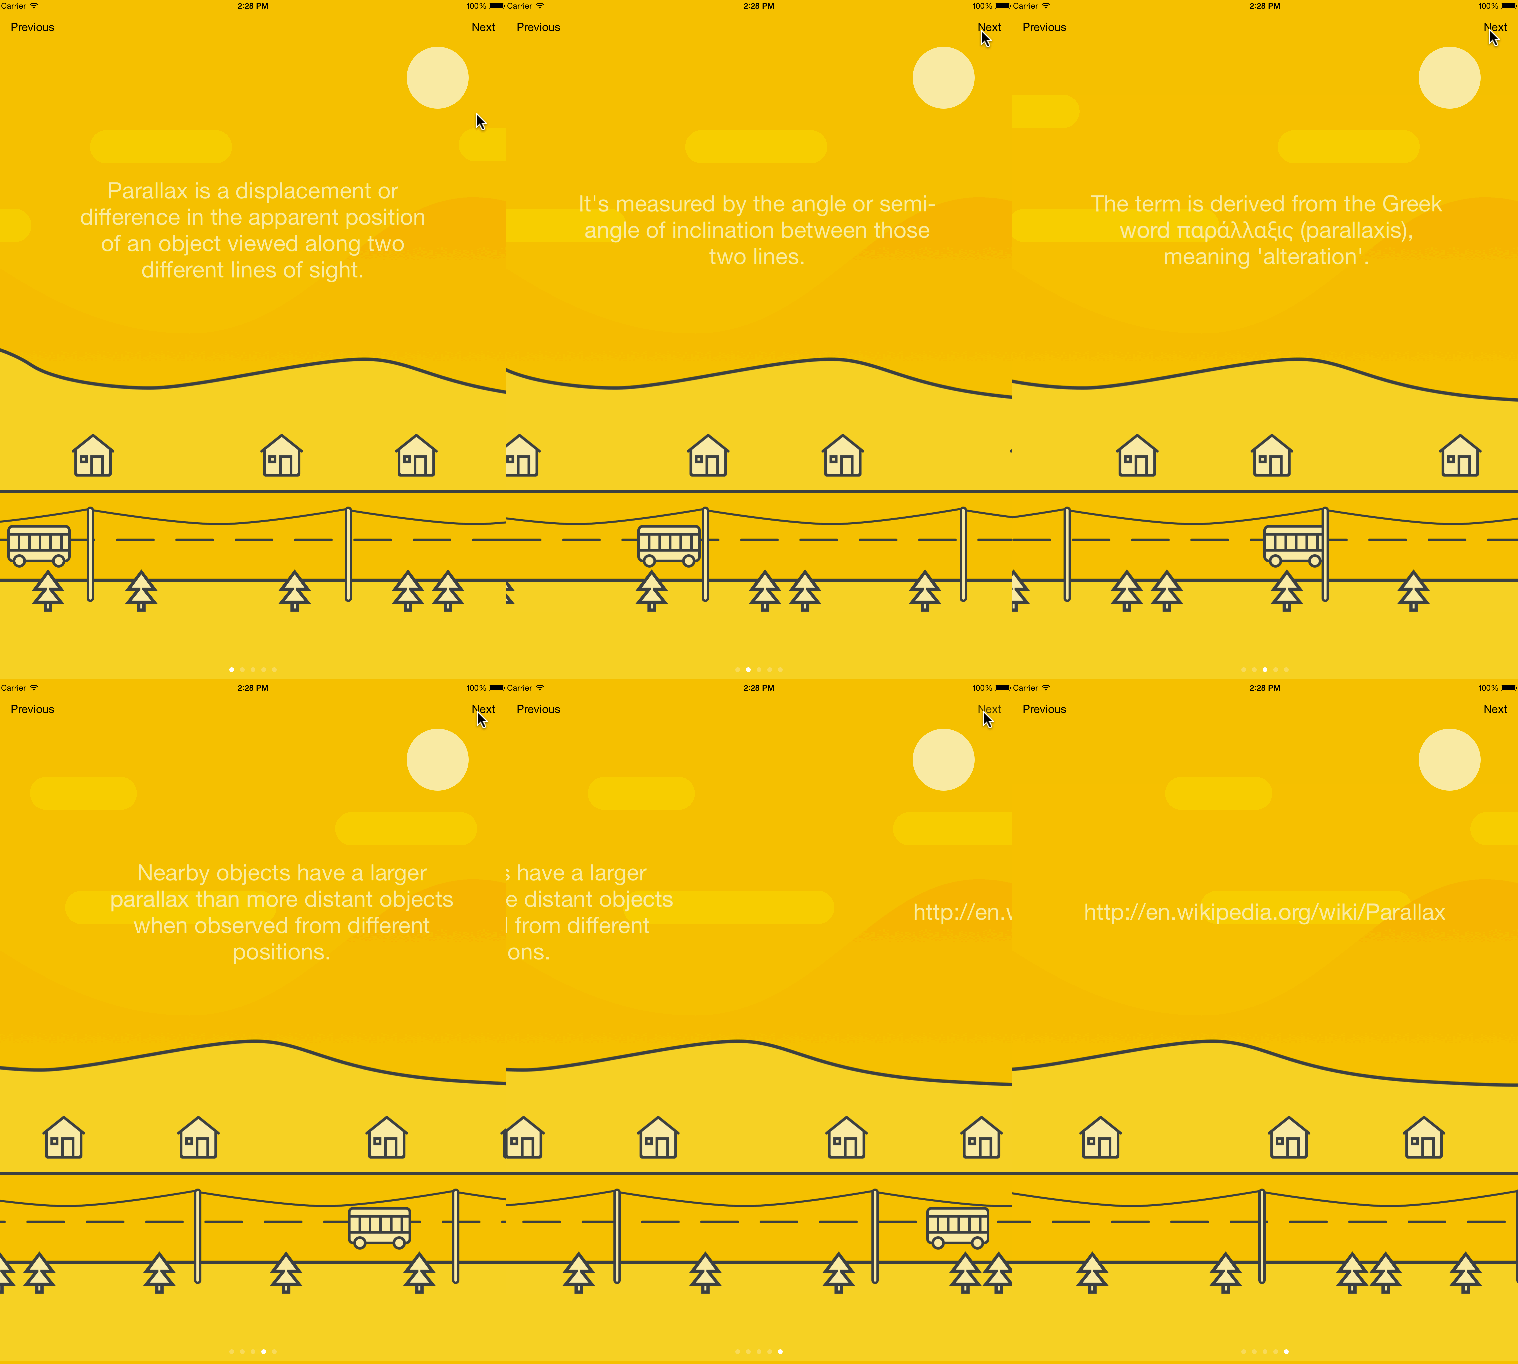
Looking for the easiest way of presenting something in your iOS app? Then you are in the right place. Presentation will help you make your tutorials, release notes and any kind of animated pages with the minimum amount of effort.
Presentation includes the following features:
- Custom positioning: You can use Position for percentage-based position declaration.
- Content: View model used for custom positioning and animations. It translates your percents to AutoLayout constraints behind the scenes.
- Slides: You can use any kind of
UIViewControlleras a slide. SlideController is your good friend if you want to use custom positioning and animation features on your pages. - Background: You can add views that are visible across all the pages. Also it’s possible to animate those views during the transition to the specific page.
- Animations: You can easily animate the appearance of a view on the specific page.
Presentation works both on the iPhone and the iPad. You can use it with both Swift and Objective-C.
Try one of our demos to see how it works:
pod try Presentation

Table of Contents
Usage
Presentation controller
import Presentation

let viewController1 = UIViewController()
viewController1.title = "Controller A"

let viewController2 = UIViewController()
viewController2.title = "Controller B"

let presentationController = PresentationController(pages: [viewController1, viewController2])
If that’s the only thing you need, look into Pages.
Position
Position is percentage-based; you can use left, right, top, bottom to set a position.
let position = Position(left: 0.3, top: 0.4)
Content view model
Content view model is a layer between UIView and Position. The current position is the center of a view by default, but can also be changed to the origin of a view.
let view = UIView(frame: CGRect(x: 0, y: 0, width: 200, height: 100))
let position = Position(left: 0.3, top: 0.4)

let centeredContent = Content(view: label, position: position)
let originContent = Content(view: label, position: position, centered: false)
Slides
let label = UILabel(frame: CGRect(x: 0, y: 0, width: 200, height: 100))
label.text = "Slide 1"

let position = Position(left: 0.3, top: 0.4)
let content = Content(view: label, position: position)

let controller = SlideController(contents: [content])

presentationController.add([controller])
Page animations
let contents = ["Slide 1", "Slide 2", "Slide 3"].map { title -> Content in
  let label = UILabel(frame: CGRect(x: 0, y: 0, width: 200, height: 100))
  label.text = title

  let position = Position(left: 0.3, top: 0.4)

  return Content(view: label, position: position)
}

var slides = [SlideController]()

for index in 0...4 {
  let content = contents[index]
  let controller = SlideController(contents: [content])
  let animation = TransitionAnimation(
    content: content,
    destination: Position(left: 0.5, top: content.initialPosition.top),
    duration: 2.0,
    dumping: 0.8,
    reflective: true)
  controller.addAnimations([animation])

  slides.append(controller)
}

presentationController.add(slides)
Background views
let imageView = UIImageView(image: UIImage(named: "image"))
let content = Content(view: imageView, position: Position(left: -0.3, top: 0.2))

presentationController.addToBackground([content])

// Add pages animations
presentationController.addAnimations([
  TransitionAnimation(content: content, destination: Position(left: 0.2, top: 0.2))],
  forPage: 0)

presentationController.addAnimations([
  TransitionAnimation(content: content, destination: Position(left: 0.3, top: 0.2))],
  forPage: 1)
Installation
Presentation is available through CocoaPods. To install it, simply add the following line to your Podfile:
pod 'Presentation'
Components
Presentation wouldn’t be possible without the help of these components:
Pages: The easiest way of setting up a
UIPageViewControllerCartography: Helps you set up your Auto Layout constraints declaratively and without any stringly typing!
Contributing
Please see our playbook for guidelines on contributing.
Credits
Hyper made this. We’re a digital communications agency with a passion for good code and delightful user experiences. If you’re using this library we probably want to hire you (we consider remote employees, too; the only requirement is that you’re awesome).
License
Presentation is available under the MIT license. See the LICENSE.


